Wednesday, March 23, 2011

Leaf to Root to Flower to Fruit

As you know from earlier posts I've been attending the monthly meetings of a vegetable gardening club in our community called TrellisIn our March meeting we got to talking about crop rotation - an interesting and important topic for any vegetable gardener.  Thought I'd share with you some information about the two key benefits of crop rotation, which are:
  • Disease and insect prevention
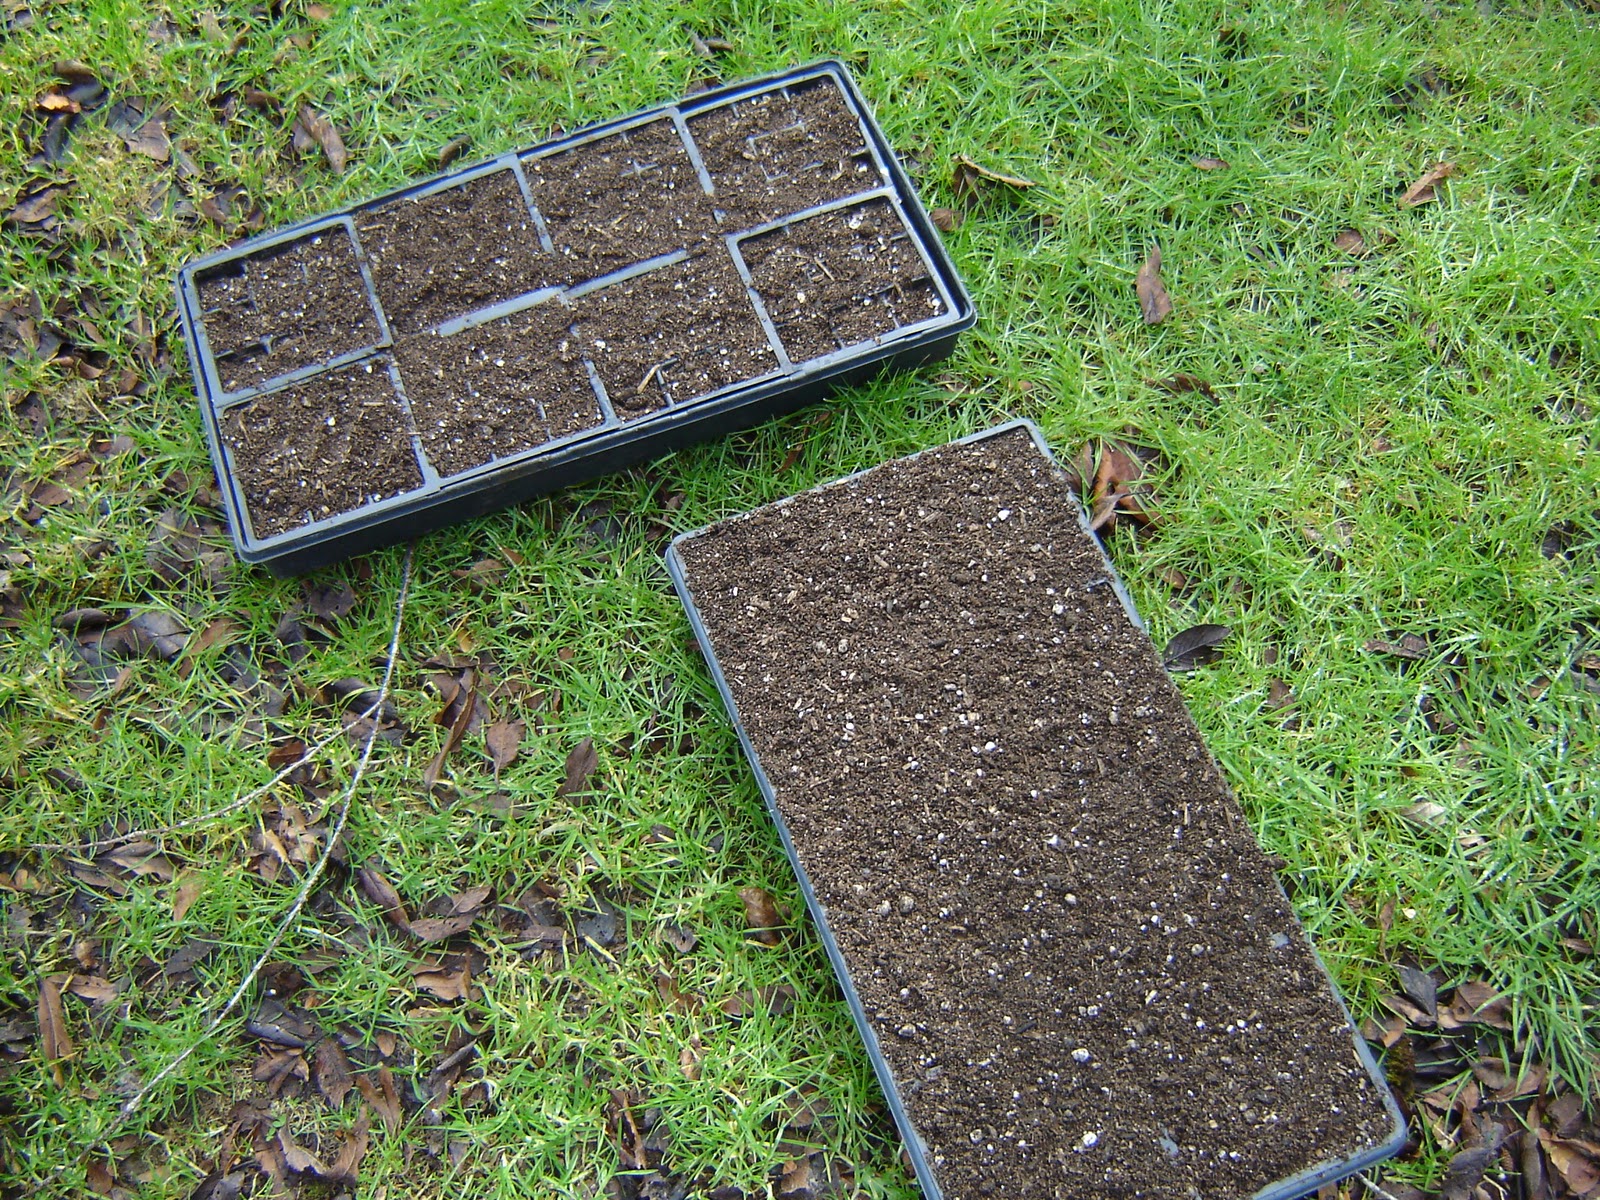
  • Soil fertility management
Crops in the same plant families tend to attract the same insects and diseases.  By growing the same plants in the same locations year after year you enable these insects and diseases to establish themselves, making your crops more susceptible to damage or even total ruin.  By rotating your crops you break this cycle and improve the health of your garden.

Crop rotation also helps you optimize your soil's fertility.  Different families of plants have different nutrient demands..... for example, some are heavy nitrogen feeders, others need more potassium or trace minerals.  If you grow the same crops in the same beds year after year, the soil becomes depleted of that high demand nutrient, which in time will compromise your crop's health, growth and yield.   By moving your crops around each year, you'll balance out your soil's nutrient demands, minimizing your need for supplemental fertilizing and composting/manures, and fostering healthy maximum harvests.

In general, you should wait at least 3 years before planting the same family of crops in the same bed, but an easier way to remember the rule is with the little poem "LEAF to ROOT to FLOWER to FRUIT".

LEAF
Most leaf crops are heavy nitrogen feeders, so a well manured/fertilized bed is essential.
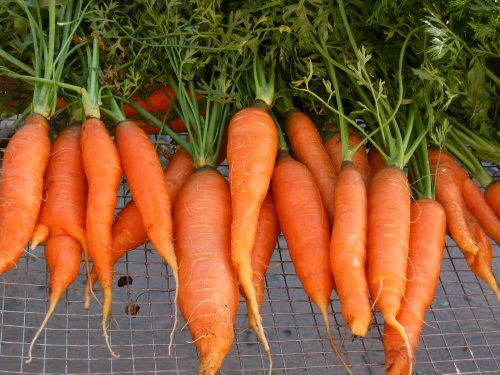


ROOT
After your leafy crops are harvested you should rotate the bed and introduce root vegetables which require less nitrogen, but more potassium and trace minerals. See how we're starting to balance our the nutrient consumption?   Composting again would be a good idea, but no additional fertilizing is needed.


FLOWER
With the first two rotations we consumed a lot of nitrogen, potassium and trace minerals.  Now we're going to put some of that back with the flower rotation.  Flowers refers to cut flowers or cover crops (as shown by the buckwheat in the photo below). Flowers not only attract beneficial insects but most often can be dug in/turned under, replenishing the soil with important nutrients, and thus preparing it for the next rotation, fruits.


FRUIT
Fruits is the final rotation.  Tomatoes, peppers and corn all grow well in a bed prepared from a dug in cover crop.  Small grains and pulses are less nutrient demanding and give pleasing yields.


Once your fruit rotation is harvested, give your beds a good dose of manure and organic fertilizer before returning to the LEAF rotation and starting the process all over again.

Much of the information shared in this post was sourced from "The Maritime Northwest Garden Guide", produced by Seattle Tilth.

Sunday, March 20, 2011

First Day of Spring

Aaaaaah!  We made it through the winter, and Daffies are busting out all over.......


Happy first day of Spring everyone.
May your gardens bloom big time this year!

Wednesday, March 16, 2011

How Many Bags?

This is just two of the three bundles....about 1600 or so bags.


Kind of interesting to see where the beans came from..... some bags had labels showing Brazil, Nicaragua and New Guinea.  No hint of coffee aroma at all since the bags contained raw beans.
Folks are already coming by to pick them up.

Recycling in action and good things being put to good use for gardens in our community.... a win win for everyone! :)

Saturday, March 5, 2011

Sowing Seeds With Nile

Fall City has a large community of avid vegetable gardeners.  Many of them gather on the 3rd Saturday of the month to swap information, share stories and educate each other on their successes and failures..... the group is called Trellis.  Here's a link to their Forum if you're interested in learning more about vegetable gardening and attending their monthly gatherings. 

I started attending their meetings at the beginning of this year in hopes of picking up pointers on the topic.  A guy named Nile Clarke is a regular attendee.  When I told the group I was interested in getting some seeding/starter/greenhouse experience he invited me to come to his farm to learn the fine art of seeding tomatoes.  Nile and his wife live at Salt Box Farm in Fall City.

When I arrived, the first thing Nile did was walk me through his 2011 Tomatoes Plan.   First lesson learned.... if you want to sow seeds, don't start creating your plan right before it's time to do the sowing..... that's too late.  You need to be thinking about this stuff way in advance - vegetable gardening isn't for procrastinators!   Planning includes deciding what varieties you want to grow, knowing how long each variety takes to mature (and therefore when you need to sow them)..... and then obtaining the seeds and all materials. 


Obtaining the seeds is often as simple as purchasing them from a reputable supplier.  Nile did some of that, but he also gathered some seeds on his own - targeting tomatoes he'd grown the previous year that were a hit, and purchasing some tomatoes he liked and harvesting those seeds. 


Nile had 16 varieties on his list and wanted to produce about 288 plants, which meant planting about 18 of each variety.  No, Nile and his wife don't swim in tomatoes each year, they generously give most of the plants away to various groups and individuals in the community.... what wonderful people they are!

288 plants, 72 segments per seed tray meant we had to prepare and sow 4 trays.

So, we started by filling each tray with good quality, well draining potting soil....


We tamped the soil down a smidge so as to make a little divot in each segment and then gave each tray a really good watering so the soil was evenly moist throughout.....


With that done, we carefully labelled each area of the tray with what we were going to plant and then did the fiddly task of putting a seed into each segment.... adding a few extras here and there for insurance purposes.  Dang, those tomato seeds are itty bitty..... this isn't something you do with gardening gloves on! 


We topped the trays off with a fine dusting of soil, and gently tamped each segment down again to create good seed to soil contact.....


After giving each tray a gentle mist-like watering we put covers on top and set them into the greenhouse on heating mats to germinate...... which should take about 3 weeks or so.  With the covers on it may not be necessary to do any additional watering while they germinate, but Nile will be checking on things just to be sure.....


Stay tuned for the next installment of my 2011 tomato journey.  I'm hoping to return to Salt Box Farm to help transfer the seedlings to bigger pots......